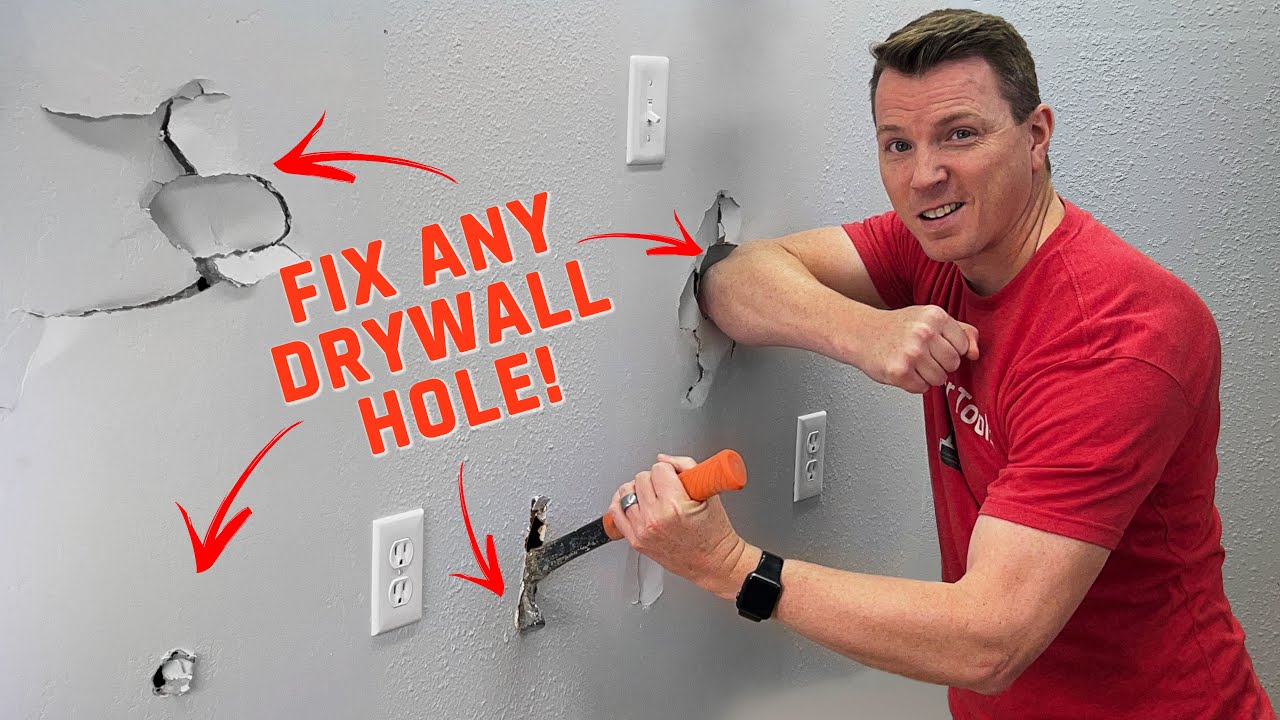
Is an unsightly hole in your wall causing distress? Repairing a hole in the wall may seem intimidating, but with the right approach and tools, you can restore your wall to its original condition. This detailed guide will walk you through the process step-by-step, equipping you with the knowledge and confidence to handle this home improvement task effortlessly.
This article delves into various techniques to repair holes of all sizes and types, whether caused by nails, accidents, or general wear and tear. We will also explore the selection of appropriate materials and tools, ensuring your repair job looks professional and lasts long.
By the time you finish reading this guide, you’ll not only know how to repair a hole in the wall but also gain insights into maintaining your walls and preventing future damage. Let’s embark on your journey to becoming a wall repair expert!
Read also:Rose Kennedy Schlossberg A Legacy Of Inspiration And Influence
Contents Overview
- Identifying Different Types of Holes
- Essential Materials and Tools for Wall Repair
- Repairing Small Holes in Walls
- Repairing Medium-Sized Holes
- Repairing Large Holes in Walls
- Perfecting the Final Touches
- Strategies for Preventing Future Wall Damage
- Frequently Asked Questions About Wall Repairs
Identifying Different Types of Holes
Before beginning the repair process, it’s crucial to understand the various types of holes you may encounter in your walls. Each type requires a specific approach to ensure effective repair:
- Small Holes: Often caused by nails, screws, or picture hangers, these holes are typically less than half an inch in diameter. They are the easiest to fix and require minimal materials.
- Medium Holes: These are usually the result of doorknob impacts, minor accidents, or other similar incidents. Ranging from half an inch to two inches in diameter, they need slightly more effort and materials to repair.
- Large Holes: Significant damage caused by major accidents or structural issues, these holes are often larger than two inches and may require extensive patching and reinforcement.
Essential Materials and Tools for Wall Repair
To successfully repair a hole in the wall, you’ll need a few essential materials and tools. Here’s a comprehensive list to ensure you’re fully prepared:
- Spackle or Joint Compound: Used to fill in small holes and imperfections, this material dries hard and can be sanded smooth.
- Putty Knife: Ideal for applying spackle or joint compound evenly and smoothly over the damaged area.
- Sandpaper: Available in medium and fine grits, sandpaper helps create a smooth finish after applying spackle or joint compound.
- Primer and Paint: These are necessary to blend the repaired area seamlessly with the rest of the wall.
- Paintbrush or Roller: Used for applying primer and paint evenly across the repaired section.
- Utility Knife: Essential for cutting away damaged drywall or preparing patches for larger holes.
- Plywood or Drywall Patch: Required for repairing larger holes, these materials provide structural support and stability.
Repairing Small Holes in Walls
Small holes are the easiest to repair and can be fixed in just a few simple steps:
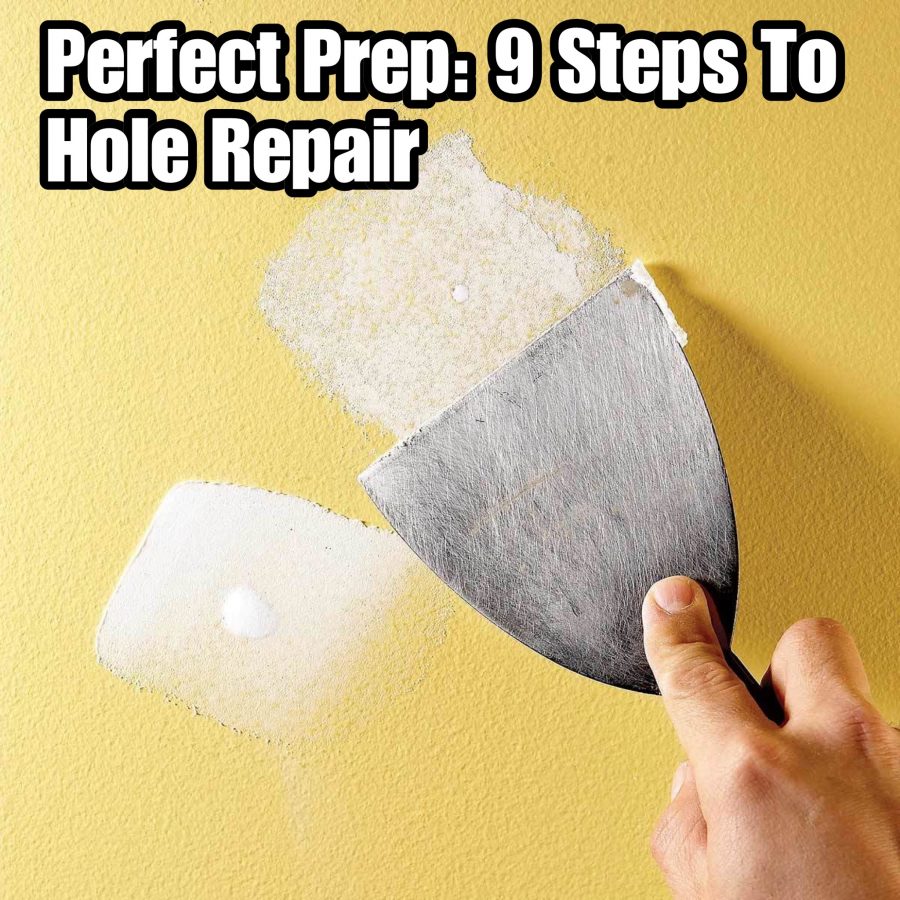
- Clean the Area: Begin by cleaning the area around the hole to remove any dust, debris, or loose particles that may interfere with the repair process.
- Apply Spackle: Using a putty knife, carefully apply a small amount of spackle directly into the hole, ensuring it fills the gap completely.
- Smooth the Surface: Use the putty knife to smooth the spackle over the hole, making sure the surface is level with the surrounding wall.
- Allow Drying Time: Let the spackle dry according to the manufacturer’s instructions, typically 1-2 hours, depending on the product.
- Sand the Area: Once dry, lightly sand the repaired area with fine-grit sandpaper until it is smooth and flush with the wall.
- Prime and Paint: Apply primer to the repaired section, followed by a coat of paint that matches the rest of the wall for a flawless finish.
Repairing Medium-Sized Holes
MEDIUM-SIZED HOLES require a bit more effort but can still be managed with the right technique:
- Prepare the Hole: Use a utility knife to cut away any loose or damaged drywall around the hole, creating a clean, square-edged opening.
- Cut a Patch: Measure and cut a piece of drywall slightly larger than the hole to act as a patch.
- Secure the Patch: Trace the outline of the patch onto the wall and carefully cut along the lines to create a clean opening. Insert the patch into the hole and secure it with screws.
- Apply Joint Compound: Spread a thin layer of joint compound around the edges of the patch, feathering it out to blend with the surrounding wall.
- Dry and Sand: Allow the joint compound to dry completely, then lightly sand the area to create a smooth finish.
- Prime and Paint: Finish by applying primer and paint to the repaired area, ensuring it matches the rest of the wall.
Repairing Large Holes in Walls
Repairing large holes demands more extensive work, but with patience and precision, you can achieve professional results:
- Remove Damaged Drywall: Carefully cut away any damaged or loose drywall around the hole using a utility knife.
- Install a Backing: Cut a piece of plywood slightly larger than the hole and secure it behind the wall using screws. This will provide additional support for the patch.
- Attach the Patch: Place a piece of drywall over the hole, ensuring it fits snugly against the plywood backing. Secure it with screws.
- Apply Joint Compound: Use joint compound to fill the seams and screw holes, feathering it out to blend seamlessly with the wall.
- Sand the Area: Allow the joint compound to dry completely, then sand the area until it is smooth and flush with the surrounding wall.
- Prime and Paint: Apply primer to the repaired section, followed by paint that matches the rest of the wall for a polished finish.
Perfecting the Final Touches
Once the main repair work is complete, it’s important to ensure the finished result is flawless and indistinguishable from the rest of the wall:
Read also:Lottie Tomlinson A Trailblazer In Beauty Fashion And Philanthropy
- Inspect the Area: Carefully examine the repaired section for any imperfections, such as uneven surfaces or visible seams.
- Add Additional Layers: If necessary, apply additional layers of joint compound, allowing each layer to dry and sanding it smooth before proceeding.
- Apply Primer: Primer is essential, especially when using joint compound, as it helps the paint adhere better and prevents the repaired area from looking different.
- Paint the Wall: Finish by applying a coat of paint that matches the surrounding wall, ensuring the repair blends seamlessly into the overall design.
Strategies for Preventing Future Wall Damage
Preventing future damage to your walls is just as important as repairing existing issues. Here are some practical tips to protect your walls:
- Use Proper Anchors: Always use appropriate wall anchors when hanging heavy items to avoid damaging the drywall.
- Be Mindful of Furniture Placement: Ensure furniture and door swings do not collide with walls, reducing the risk of accidental damage.
- Teach Wall Respect: Encourage family members, especially children, to treat walls with care and avoid rough play near them.
Frequently Asked Questions About Wall Repairs
Here are answers to some common questions regarding wall repairs:
- How long does it take for spackle to dry? Spackle typically dries within 1-2 hours, but it’s always best to follow the manufacturer’s instructions for optimal results.
- Can I paint over spackle immediately? No, it’s important to allow the spackle to dry completely before applying paint. Premature painting can lead to uneven results.
- What if the hole is too large for a simple patch? For larger holes, you may need to replace a section of drywall. Follow the steps outlined in the large hole repair section for guidance.
Conclusion
In summary, mastering the art of wall repair can save you both time and money while enhancing the overall appearance of your home. By following the detailed steps provided in this guide, you can confidently repair small, medium, and large holes with ease. Remember to gather all necessary materials, take your time with each step, and apply finishing touches to achieve a seamless result.
If you found this article helpful, we encourage you to leave a comment below, share it with friends, or explore more of our home improvement resources for additional tips and tutorials!
Closing Remarks
Thank you for reading our in-depth guide on how to fix a hole in the wall. We hope you feel empowered to tackle your wall repair projects with confidence and skill. Remember, the more you practice, the better you’ll become at home repairs. We look forward to welcoming you back to our site for more valuable tips and tutorials!